

 See My Latest Article on HelloNation
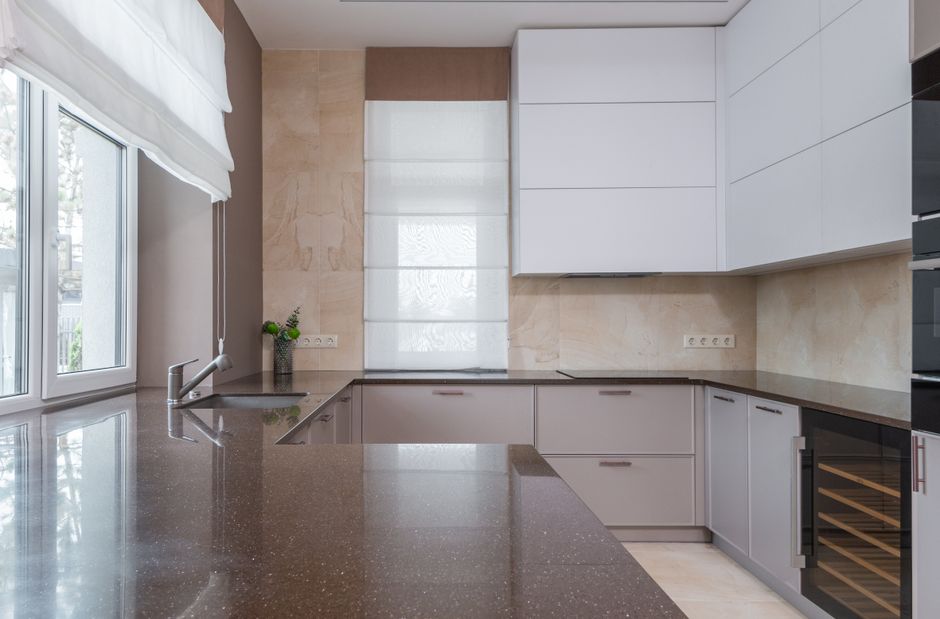
Measuring for new countertops is more than recording the length and width of each cabinet run. A reliable measurement accounts for walls that are not perfectly square, sink and cooktop openings, overhangs, seams, backsplashes, appliances, and how the finished surface will meet nearby walls.
For homeowners in Kernersville, NC, careful preparation is especially useful in older homes, remodeled kitchens, and rooms where cabinets were installed over uneven floors or against slightly irregular walls. The measurements do not need to replace a fabrication template, but they can help identify problems early and make the project easier to plan.
What should be measured before ordering countertops?
Begin by measuring the existing cabinet layout, not just the old countertop. Countertops are fabricated to fit the cabinet boxes, wall conditions, and selected sink or appliance openings.
Gather:
- A steel tape measure at least 12 feet long
- A pencil and notepad
- Graph paper or a printed cabinet sketch
- A straightedge or level
- A framing square, if available
- A camera or phone for documenting obstacles
- A helper for long measurements
Draw the kitchen or bathroom from above. Label each cabinet run with a letter or number, then record measurements directly on the drawing. Include walls, corners, windows, doors, appliances, plumbing fixtures, and locations where one countertop section changes direction.
Do not rely on memory or a single overall measurement. Breaking the room into sections makes errors easier to find.
How do you measure the length of a countertop run?
Measure each cabinet run along the back wall and again along the front edge of the cabinets. Record the dimensions to the nearest 1/16 inch when practical.
For a straight run, measure:
1. The wall length from corner to corner.
2. The cabinet length from outside edge to outside edge.
3. The distance from the wall to the front of the cabinet boxes.
4. Any filler strips, end panels, or exposed sides.
If the front and back measurements differ, the wall or cabinet line may not be square. That difference should be recorded rather than averaged away. A stone countertop can be fabricated with a controlled adjustment, but the fabricator needs to know where the variation occurs.
For an L-shaped or U-shaped layout, measure every leg separately. Also measure the diagonal distance across each inside corner. Diagonal measurements help reveal whether the corner is square and whether two runs will meet as expected.
How much depth should be included?
Standard cabinet depth does not automatically equal finished countertop depth. A typical countertop may extend slightly beyond the cabinet fronts, but the final dimension depends on the cabinet construction, door and drawer alignment, side panels, and desired overhang.
Measure from the wall to the front edge of the cabinet box, then check how far the doors and drawers project beyond the boxes. A useful sketch should show:
- Cabinet box depth
- Door and drawer front depth
- Intended front overhang
- Side overhangs
- Wall irregularities
- Any trim or decorative panels
Avoid assuming that every cabinet has the same depth. A peninsula, appliance garage, furniture-style cabinet, or modified island may require a different measurement from the main run.
How should countertop overhangs be measured?
Overhang is the portion of the countertop extending beyond the supporting cabinets. It may be used for seating, visual balance, or clearance around an appliance.
Measure and label each overhang separately:
- Front overhang along the cabinet run
- End overhang at exposed cabinet sides
- Seating overhang at an island or peninsula
- Overhang around a sink or other opening
A larger seating overhang may require brackets, legs, or another support system. The support requirement depends on the stone type, slab thickness, overhang depth, cabinet layout, and local construction conditions. Do not assume that the cabinets alone can support a deep projection.
Also check walkways. A countertop should not be measured in isolation from the room. Extra depth can narrow the passage between an island, table, wall, or appliance door.
How do you measure sinks, cooktops, and other cutouts?
Cutouts require more than the outside dimensions of the fixture. Record the exact model and installation type whenever possible, then measure the opening requirements from the manufacturer’s specifications.
Common sink types include:
- Undermount sinks, which are supported below the stone
- Drop-in sinks, which rest on the countertop
- Farmhouse-style sinks, which may require cabinet modification
- Integrated or specialized fixtures with unusual edge requirements
For cooktops, record the appliance cutout size, clearance requirements, control locations, and relationship to cabinet rails or drawers. A cutout placed too close to an edge or seam can create fabrication and installation problems.
Do not measure an old sink opening and assume it will fit a new sink. Even fixtures that appear similar can require different cutout dimensions, corner radii, or support details.
Where should seams be expected?
Seams are often needed when a countertop run is longer than the available slab, when the layout has several corners, or when an opening affects how the piece can be transported and installed.
During measuring, identify:
- Long uninterrupted runs
- Inside corners
- Sink and cooktop locations
- Narrow passages or difficult entry points
- Changes in countertop depth
- Areas where a seam would be visually noticeable
A seam is not necessarily a defect. Its appearance depends on the stone pattern, edge profile, installation quality, lighting, and location. Placing a seam through a sink opening or directly beside a cooktop may create avoidable complications, so layout planning matters before final fabrication.
What wall and room conditions can change the measurement?
Walls are rarely perfectly straight. Use a level or straightedge to check whether the wall bows inward or outward. Note gaps behind the existing countertop, uneven corners, and areas where wall tile or backsplash may be removed.
Also inspect:
- Window trim that reaches the countertop
- Electrical outlets near the backsplash
- Plumbing supply lines and drain locations
- Dishwasher mounting clearance
- Refrigerators or tall cabinets beside the countertop
- Radiators, vents, and structural posts
- Doors and hallways used to bring the slab or finished pieces indoors
Homes in the local area may include additions, enclosed porches, older renovations, or floors that have settled slightly over time. These conditions do not automatically prevent a countertop installation, but they make field verification more valuable than relying on assumed standard dimensions.
What is the difference between a homeowner measurement and a fabrication template?
A homeowner measurement is a planning document. A fabrication template is a precise pattern or digital layout used to produce the final stone pieces.
A template verifies details such as:
- Actual wall shape
- Cabinet alignment
- Finished overhangs
- Sink and appliance cutouts
- Seam locations
- Edge profiles
- Clearance at walls and appliances
Measurements taken before cabinets are fully installed can change later. For that reason, final templating generally occurs after the cabinets are secured, the supporting surfaces are level, and the sink and appliances are available for verification.
What common measuring mistakes should be avoided?
The most frequent errors are caused by assumptions rather than difficult measuring.
Avoid:
- Measuring only the old countertop
- Using one wall-to-wall dimension for an irregular room
- Forgetting fillers and finished end panels
- Failing to record door and drawer projections
- Ordering cutouts from memory
- Ignoring appliance clearance
- Assuming all corners are square
- Planning an overhang without checking support
- Omitting the route into the home
- Rounding measurements too early
Write every measurement on a labeled drawing and check the same dimension at least twice. If a number conflicts with another measurement, investigate the conflict instead of choosing the value that seems most convenient.
A careful measurement package should show the room shape, cabinet runs, depths, overhangs, openings, obstacles, access conditions, and photographs of unusual areas. That information gives the final fabricator a clearer starting point and helps prevent surprises before the stone is cut.